Drag and Drop UI Elements with Basic Collision Detection
This article was previously published on Rensu Theart's blog.
Recently I started to learn NativeScript in order to develop an app for a friend. Previously I've worked with the Android SDK and have also done some extensive development using Unity. But this new app had to be cross-platform (i.e. iOS and Android), and have a native feel, which makes Unity not well suited for this. So after playing around with Ionic and NativeScript a bit, I really liked the native performance and the low level power NativeScript allows.
Another great thing about NativeScript is it allows 100% code reuse, unlike any other native API. Furthermore, I feel like Angular 2 and TypeScript are the future of both web and app development, so I decided to learn the Angular version of NativeScript. But that's enough background, now onto the topic of this post's title: How to do you implement the ability to drag and drop UI elements in NativeScript - and while you’re at it, restrict the movement within a bounding box.
NativeScript Gestures
The whole process of detecting touch screen input on UI elements is conveniently wrapped for us in NativeScript's Gestures API. In NativeScript all UI elements inherits from the View class, which has on and off methods that allow you to subscribe or unsubscribe to all the events and gestures that the UI element detects. You can then pass the type of gesture you want to detect as well as the callback function for that gesture to these methods.
Alternatively, you can use the magic of Angular 2 and simply connect your TypeScript functions to the event described in your XML where you defined the UI element. I feel this is much easier to follow in the code for the Angular implementation so that is what we will do below.
You can read more detail here, including which gestures can be detected (most everything you can imagine to need in your application is included in the API).
Panning
The name of the gesture we will need to detect dragging and dropping events is called "Panning". In the NativeScript docs it is described as "Action: Press your finger down and immediately start moving it around. Pans are executed more slowly and allow for more precision and the screen stops responding as soon as the finger is lifted off it."
From the NativeScript docs, the usage is as follows:
For the TypeScript side:
onPan(args: PanGestureEventData) {
    console.log("Pan delta: [" + args.deltaX + ", " + args.deltaY + "] state: " + args.state);
}
For the XML side:
<Label text="Pan here" (pan)="onPan($event)"></Label>
So there is really not much to it. In the XML, where you define the element, you simply add the (pan) event and give it your callback function in your TypeScript component. You pass the PanGestureEventData data to the function with the $event parameter. In your function you then have access to several event properties. The three main ones we care about are the deltaX, deltaY (which refers to the amount of device-independent pixels that were panned in the last update) and state (i.e. finger down, up or pressed, etc.) properties.
Dragging an Image (Practical Usage)
Ok, now lets create a simple app that uses this to move a picture around.
I'm taking inspiration from this stack overflow page, which uses vanilla JavaScript instead of Angular.
For a base project template to demonstrate this, let's use the NativeScript angular tutorial template. Type the following in the command prompt (obviously you would have needed to set up NativeScript first. Instructions can be found here):
tns create DragDrop --template nativescript-template-ng-tutorial
In the app.component.ts file under the template XML code add the following code:
<ActionBar title="Drag and Drop">
<GridLayout width="100%" height="400" backgroundColor="gray">
      <Image #dragImage width="100" height="100" (pan)="onPan($event)" src="~/images/apple.jpg"></Image>
</GridLayout>
Note here that we are giving the Image the local template variable of #dragImage, which we will refer to later. Also notice that we attach the callback function onPan (which we will create shortly), to the NativeScript event (pan). Therefore, when the image is being panned (user drags their finger over the image), the onPan function will be called.
Also, add the following imports at the top of the file which we will need later:
import { Component, ElementRef, OnInit, ViewChild } from "@angular/core";
import { PanGestureEventData } from "ui/gestures";
import { Image } from "ui/image";
Define the following variables at the top of the class:
@ViewChild("dragImage") dragImage: ElementRef;
dragImageItem: Image;
prevDeltaX: number;
prevDeltaY: number;
The only complicated piece of code above is where we are retrieving the UI Image element using Angular's @ViewChild decorator with our template variable dragImage which we defined in the XML code. However, before we can use this image we will have to store it in a Image variable, which we define next. Then there are two delta movement variables we will need to perform the translation.
Good practice is to initialize variables in the ngOnInit function instead of in the constructor, which we inherit from the OnInit class. So let AppComponent implement OnInit as follows:
export class AppComponent implements OnInit
Then add the following function to the class (under the variable declarations):
public ngOnInit() {
    this.dragImageItem = <Image>this.dragImage.nativeElement;
    this.dragImageItem.translateX = 0;
    this.dragImageItem.translateY = 0;
    this.dragImageItem.scaleX = 1;
    this.dragImageItem.scaleY = 1
}
Next we implement the onPan function, which is where everything comes together.
onPan(args: PanGestureEventData) {
  //console.log("Pana: [" + args.deltaX + ", " + args.deltaY + "] state: " + args.state);
  if (args.state === 1) // down
  {
    this.prevDeltaX = 0;
    this.prevDeltaY = 0;
  }
  else if (args.state === 2) // panning
  {
    this.dragImageItem.translateX += args.deltaX - this.prevDeltaX;
    this.dragImageItem.translateY += args.deltaY - this.prevDeltaY;


    this.prevDeltaX = args.deltaX;
    this.prevDeltaY = args.deltaY;
  }
  else if (args.state === 3) // up
  {

  }
}
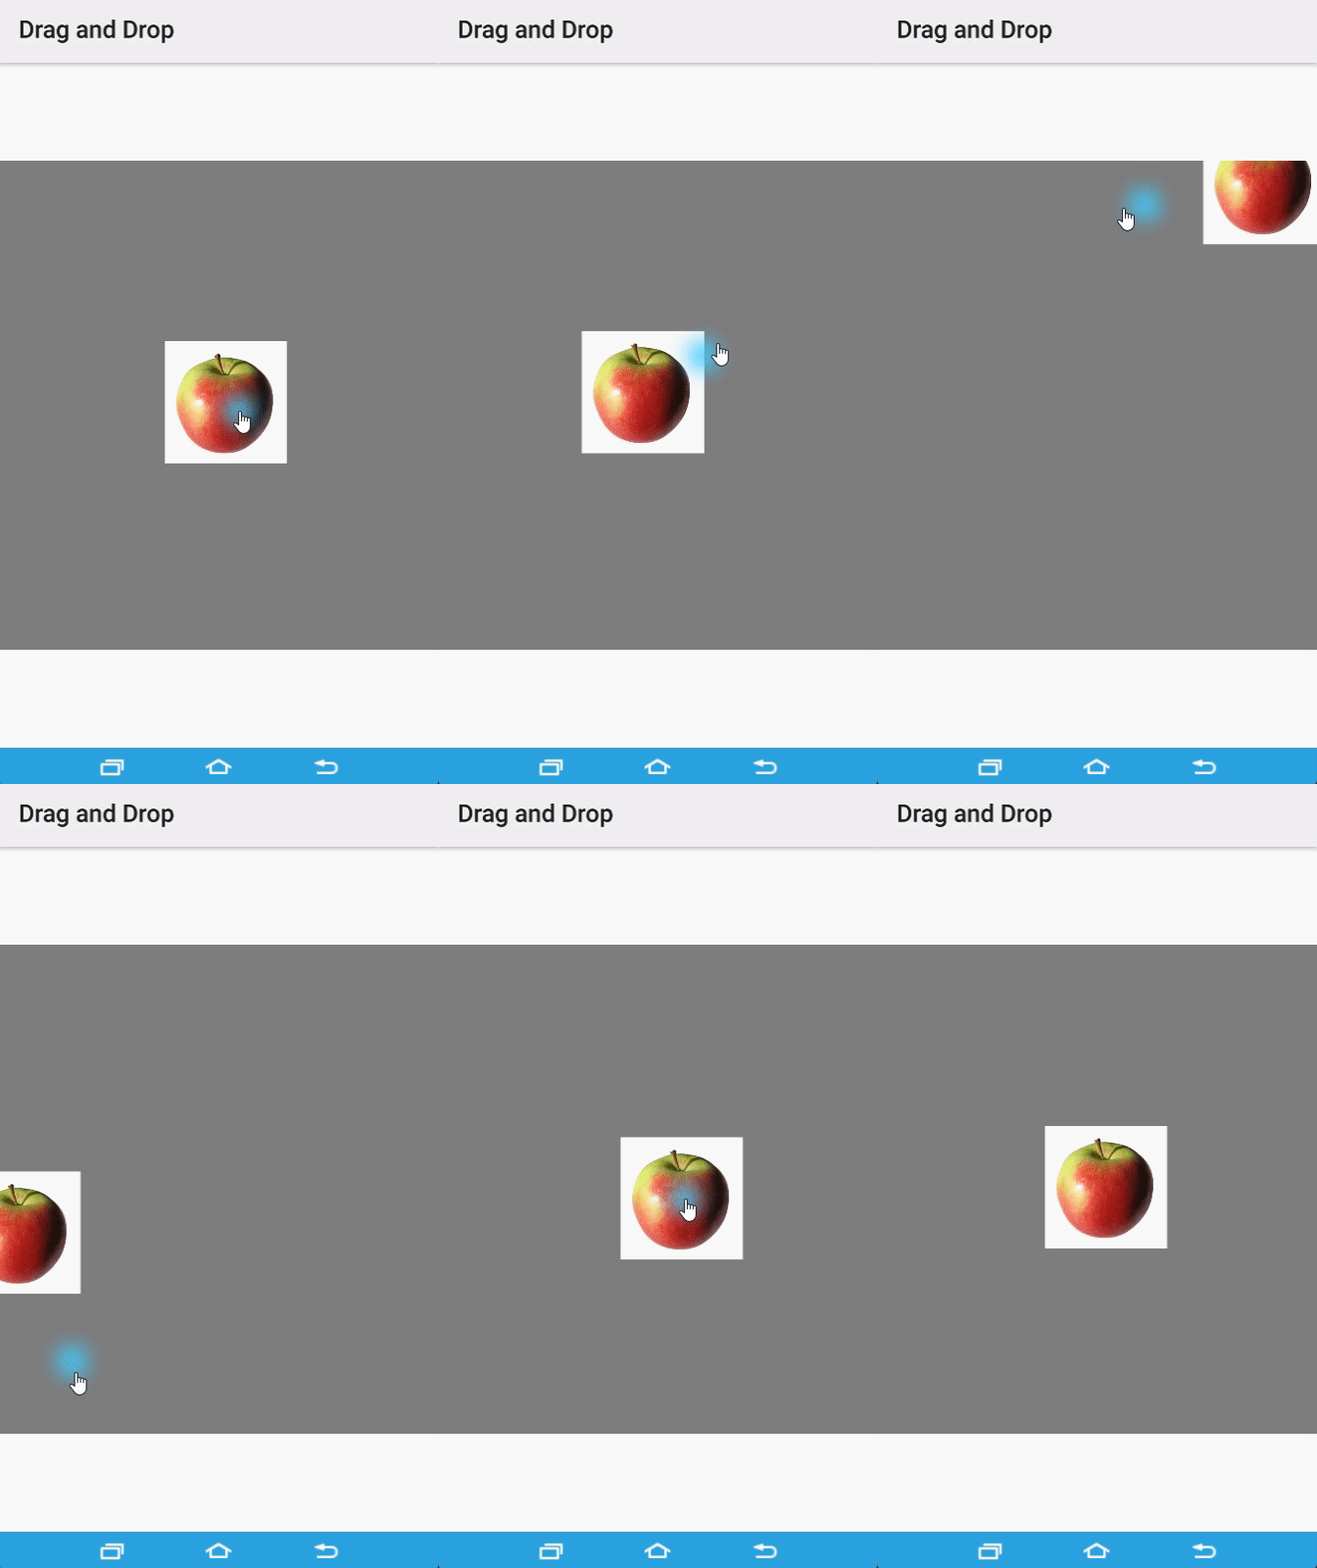
In this function we first check which state the panning gesture is in. When the user initially touches the UI element, we reset the panning variables. And while the user is panning, the Image's translateX and translateY properties are updated with only panning change of the last frame. These translate properties works the same as the CSS animation properties, and therefore it refers to the translation from the origin. That is why we are cumulatively changing these properties. The position of the image will now be updated according to the panning gesture.
If we run the code we get the effect shown here:

Border Collision Detection
Now let's take this a step further and add some collision detection. This can be very useful for many applications, such as collecting items in a game or not allowing the user to move an image outside a defined area, which is what we will do. In order to demonstrate how to combine collision detection with the panning of UI elements, we will elaborate on what we have so far.
To start, add the local template variable #container to the GridLayout. For this example we will also ensure that the image starts in the top-left corner, by adding the horizontalAlignment and verticalAlignment properties.
<GridLayout #container width="100%" height="400" backgroundColor="gray">
    <Image #dragImage width="100" height="100" horizontalAlignment="left" verticalAlignment="top" (pan)="onPan($event)" src="~/images/apple.jpg"></Image>
</GridLayout>
We will also need to add the following imports on top of our app.component.ts file.
import { GridLayout } from "ui/layouts/grid-layout";
import { AnimationCurve } from "ui/enums";
And similar to before, since we now would like to know where the edges of the bounding box (GridLayout) is, we also need to retrieve the GridLayout from our XML.
@ViewChild("container") container: ElementRef;
itemContainer: GridLayout;
And, again, we add the following line to our ngOnInit function.
this.itemContainer = <GridLayout>this.container.nativeElement;
Now back to our onPan function. We will use the code we had before but now expand it to restrict the movements of the image to only within the bounding container.
onPan(args: PanGestureEventData) {
  //console.log("Pana: [" + args.deltaX + ", " + args.deltaY + "] state: " + args.state);
  if (args.state === 1) // down
  {
    this.prevDeltaX = 0;
    this.prevDeltaY = 0;
  }
  else if (args.state === 2) // panning
  {
    this.dragImageItem.translateX += args.deltaX - this.prevDeltaX;
    this.dragImageItem.translateY += args.deltaY - this.prevDeltaY;

    this.prevDeltaX = args.deltaX;
    this.prevDeltaY = args.deltaY;

    // calculate the conversion from DP to pixels
    let convFactor = this.dragImageItem.width / this.dragImageItem.getMeasuredWidth();
    let edgeX = (this.itemContainer.getMeasuredWidth() - this.dragImageItem.getMeasuredWidth()) * convFactor;
    let edgeY = (this.itemContainer.getMeasuredHeight() - this.dragImageItem.getMeasuredHeight()) * convFactor;

    // X border
    if (this.dragImageItem.translateX < 0) {
      this.dragImageItem.translateX = 0;
    }
    else if (this.dragImageItem.translateX > edgeX) {
      this.dragImageItem.translateX = edgeX;
    }

    // Y border
    if (this.dragImageItem.translateY < 0) {
      this.dragImageItem.translateY = 0;
    }
    else if (this.dragImageItem.translateY > edgeY) {
      this.dragImageItem.translateY = edgeY;
    }
  }
  else if (args.state === 3) // up
  {
    this.dragImageItem.animate({
      translate: { x: 0, y: 0 },
      duration: 1000,
      curve: AnimationCurve.cubicBezier(0.1, 0.1, 0.1, 1)
    });
  }
}
A few notes for explanation. There is a challenge we have of two different coordinate systems being used, with no direct way of converting between the two. The PanGestureEventData's deltaX and deltaY variables use the device-independent pixels (dp), which is the same as is returned by the UI element's View.width variable. However, for the GridLayout, since no fixed width is defined, this variable returns “100%”, which is not very useful in terms of dp translation variable comparisons. The same problem would occur for elements defined with the star (*) layout properties. So since the container does not return the desired width when we call View.width, we need to use a trick. Now there is clearly a few ways you could do this, such as retrieving the Page's width, but much easier is to define the Image with a known width in dp (in this case 100), and then to use the function getMeasuredWidth() which returns the
width in pixels on the screen, and then with simple division a conversion factor can be calculated. We can then multiply the width and height in pixels with this conversion factor, and we get the width of the container in dp.
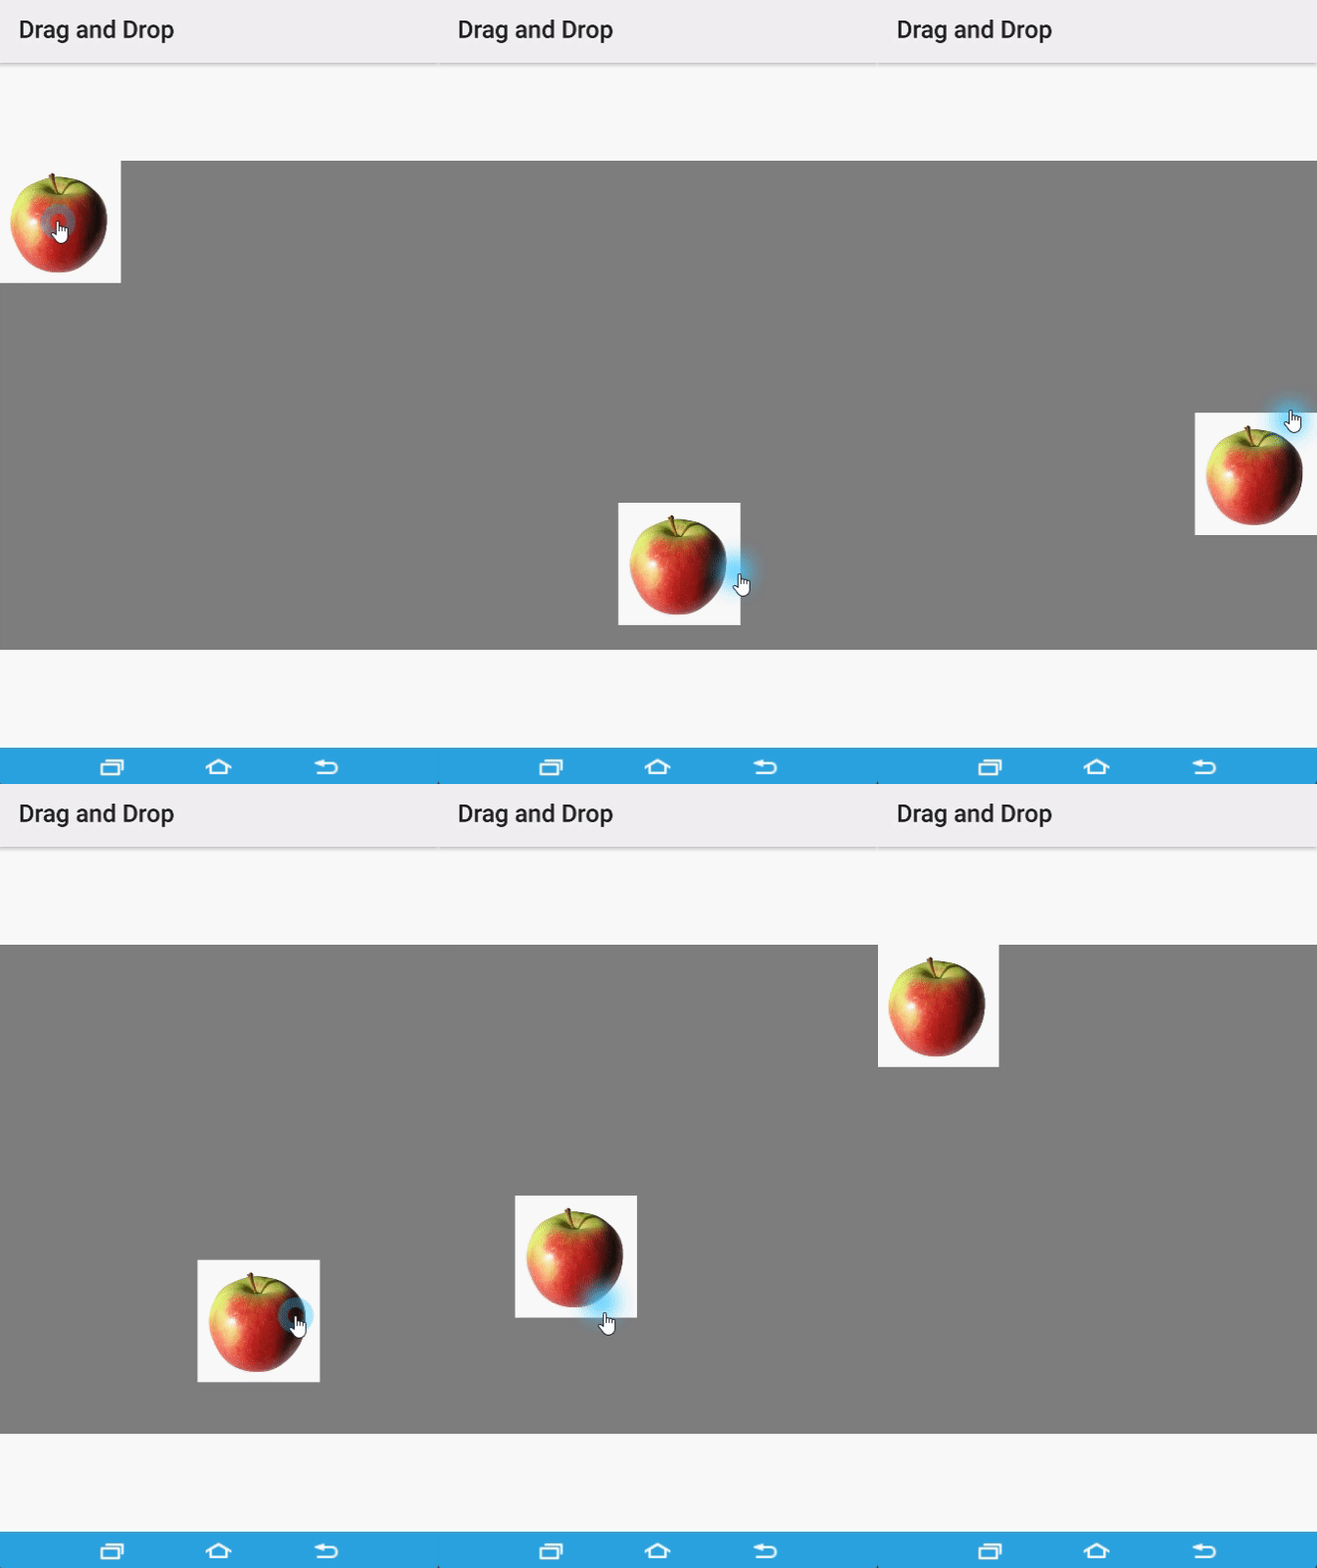
Now that we know where the edges of the container are, we simply use four if-statements to ensure that the image cannot move outside this border. And then just as a nice effect, whenever the user lifts up his finger the image automatically slides back to the origin position with an animation.
Here is an example of what all of this looks like in practice:

Conclusion
In this post we learned how to drag and drop an image using NativeScript. This same principle can be applied to any of NativeScript's UI elements with very simple adaptions to the code. We also learned how to convert the width of UI elements from onscreen pixels to device-independent pixels. This allowed as to implement a basic collision detection system. And lastly we implemented some basic animations to make the UI element slide back to the origin position.
Thanks for reading, please leave some feedback!